
An impatient guide to aurora photography
In my long and illustrious career as an Antarctic expeditioner (one year, with zero achievements of note), I have learned one thing: every previous expeditioner has been doing photography wrong. Crazy, I know.
So, here are my steps to capturing a proper Antarctic aurora photograph.
Step one: Always be in a hurry. Yes, it’s night-time and yes, the 26 other people on station are probably asleep. But you have tasks to complete such as not emptying the Hobart or raiding the chocolate box so make sure at no point during the photography process you stop moving.
Step two: Framing. Not important and borderline optional, ideally you want to switch between fully zoomed out or completely zoomed in and don’t you dare to even think about turning your camera (half charged expeditioner phone you’ve been using to prop your keyboard) landscape.
Step three: Settings. Your ideal ISO is whatever your favourite 4-digit number is at that moment, my current method is whatever sequence the powerhouse is set to. Now you want to pick a shutter speed - this is solely based on how badly your attention span has been degraded by shortform media. I normally go for 8 seconds.
Step four: Shooting, as stated earlier, you want to be in motion so tripods are immediately out of the picture (pun intended). Next you want to be underdressed for the conditions - ideally without gloves - as the authentic shivers enhance the shot. Next, you want to be as close to well-illuminated buildings as possible and bonus points for leaving your head torch on.
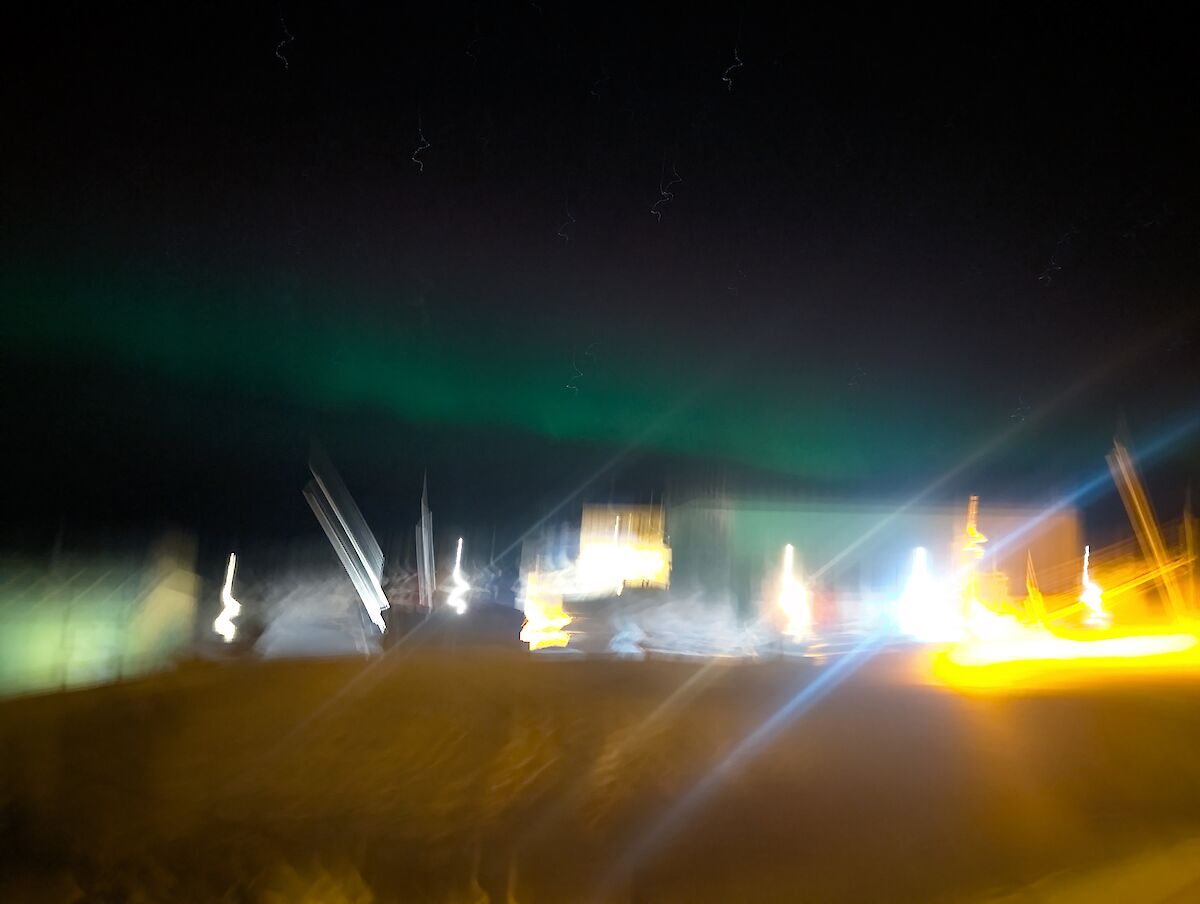
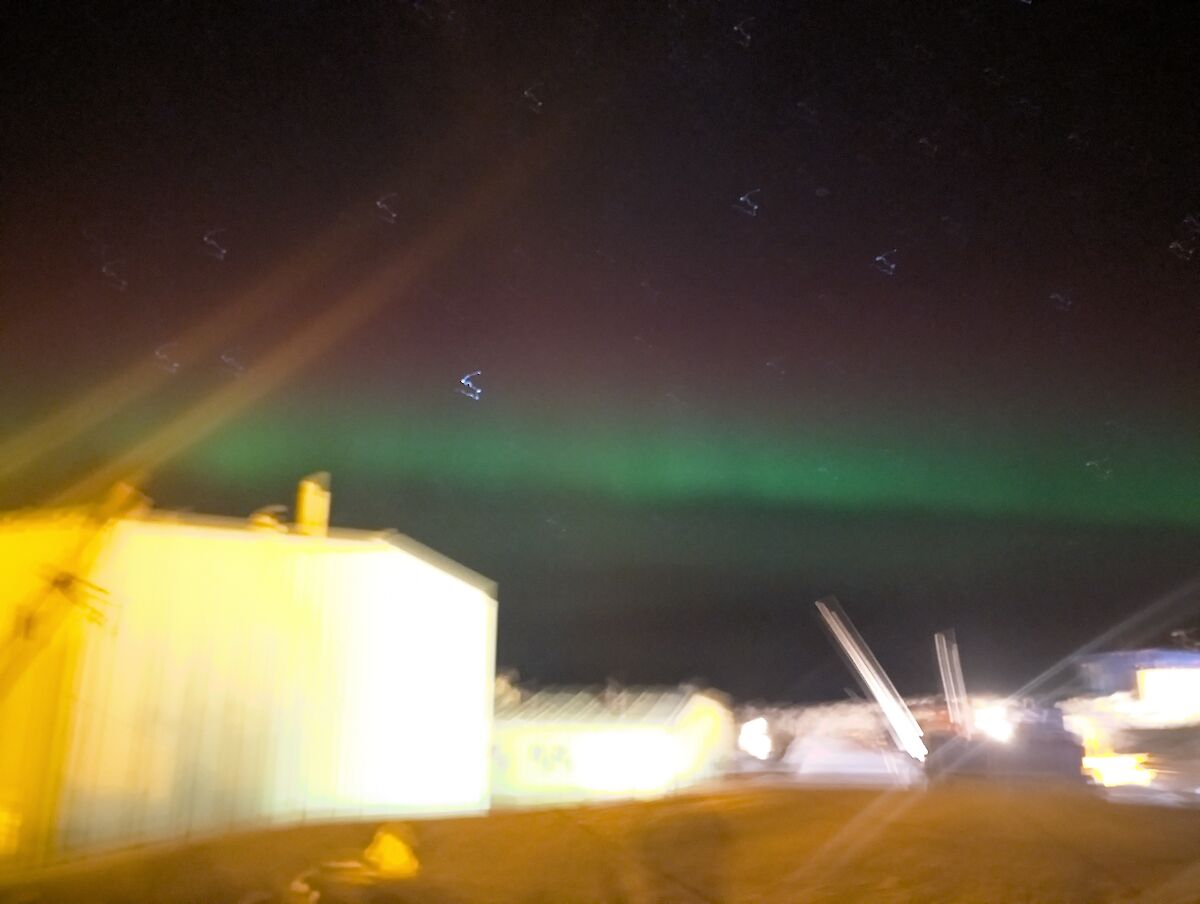
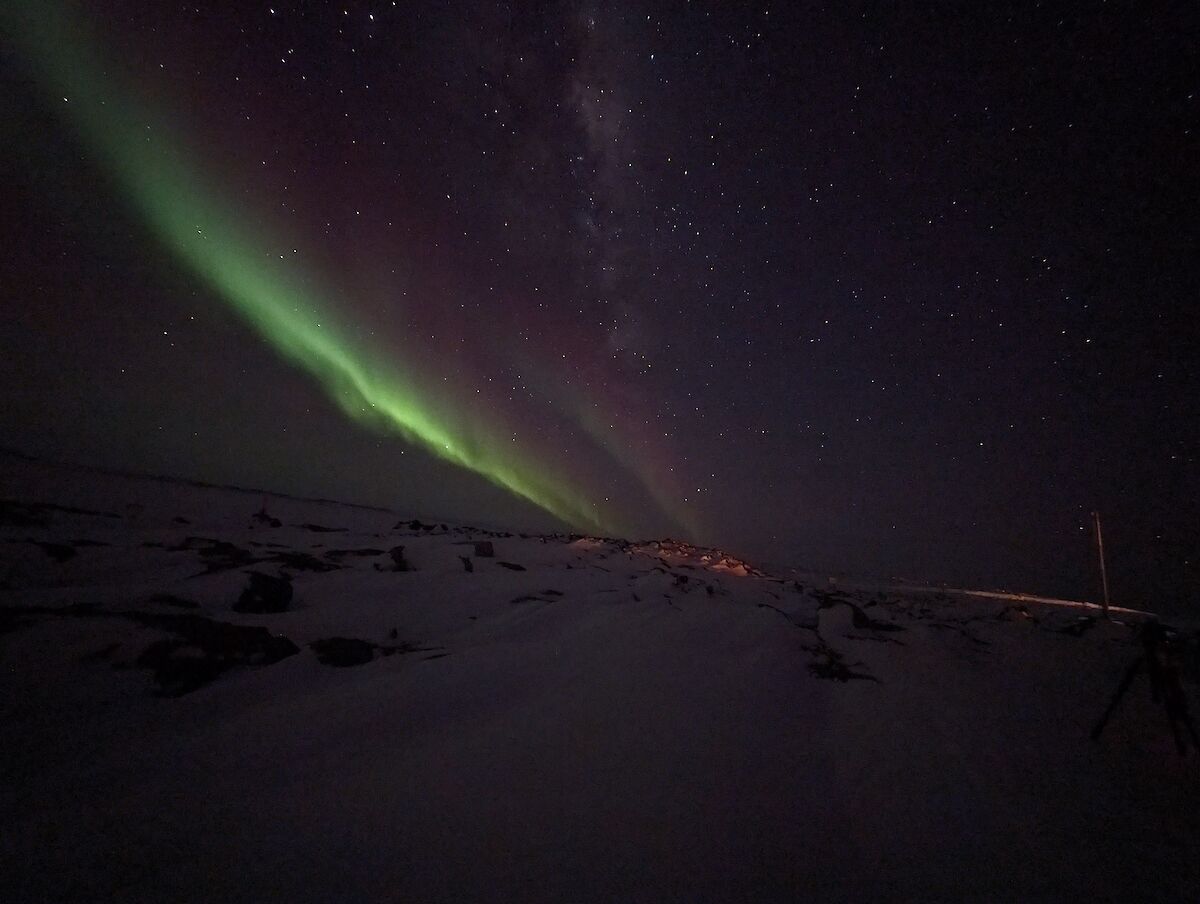
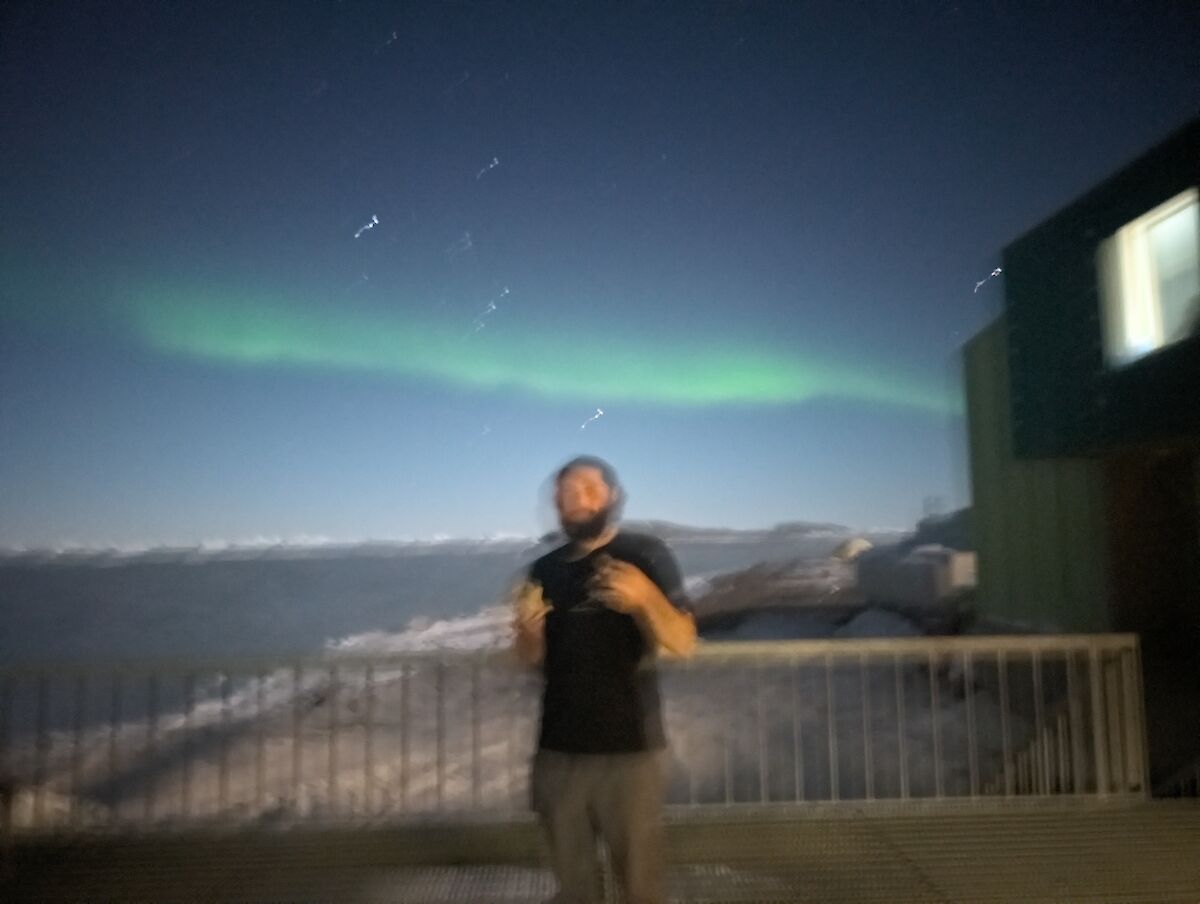
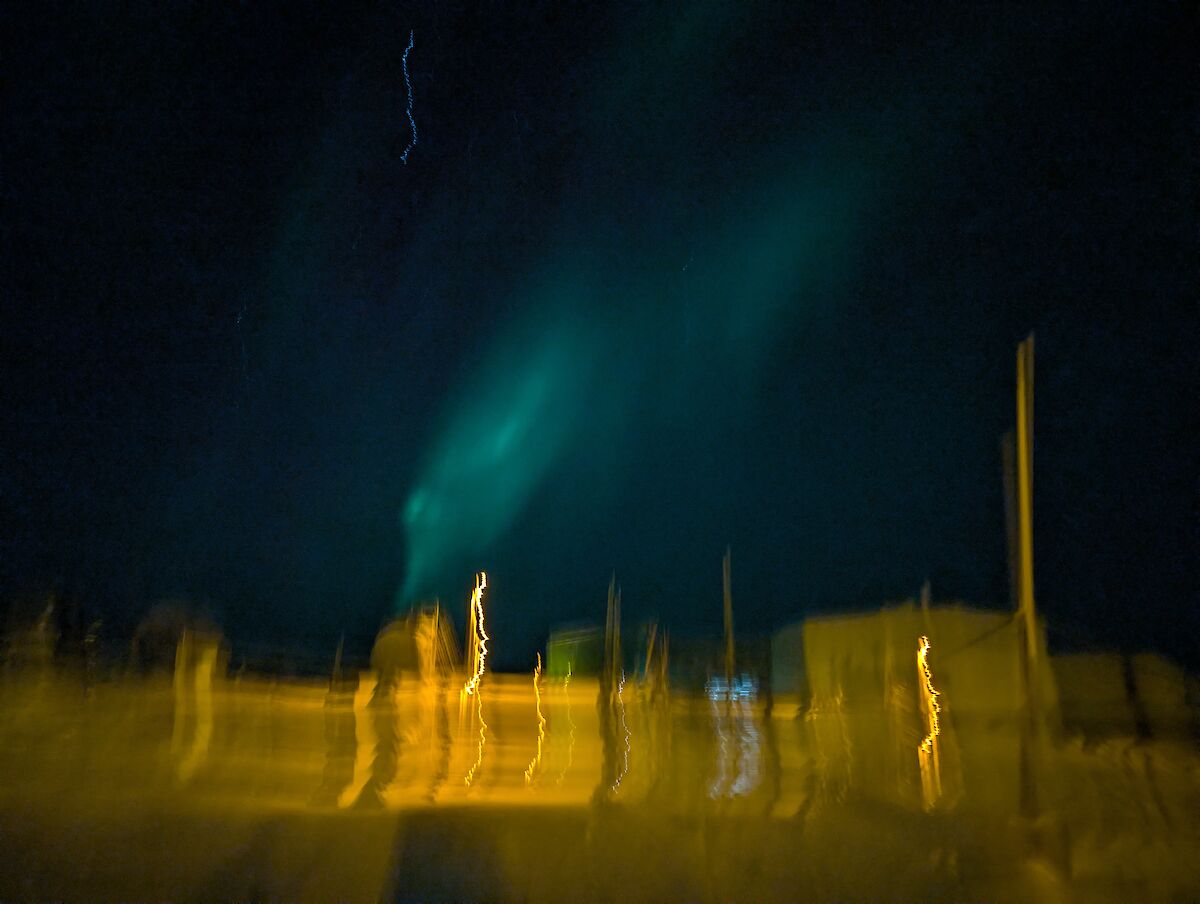
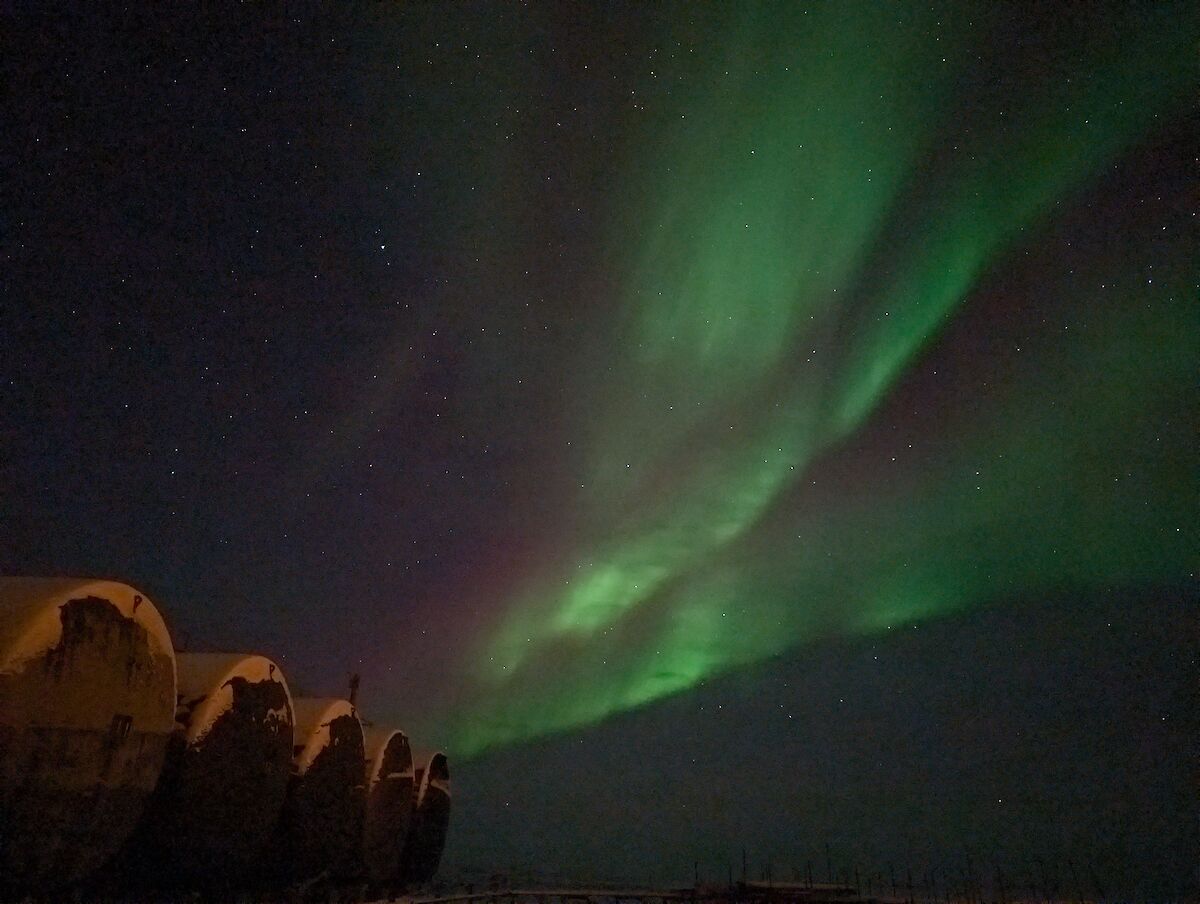
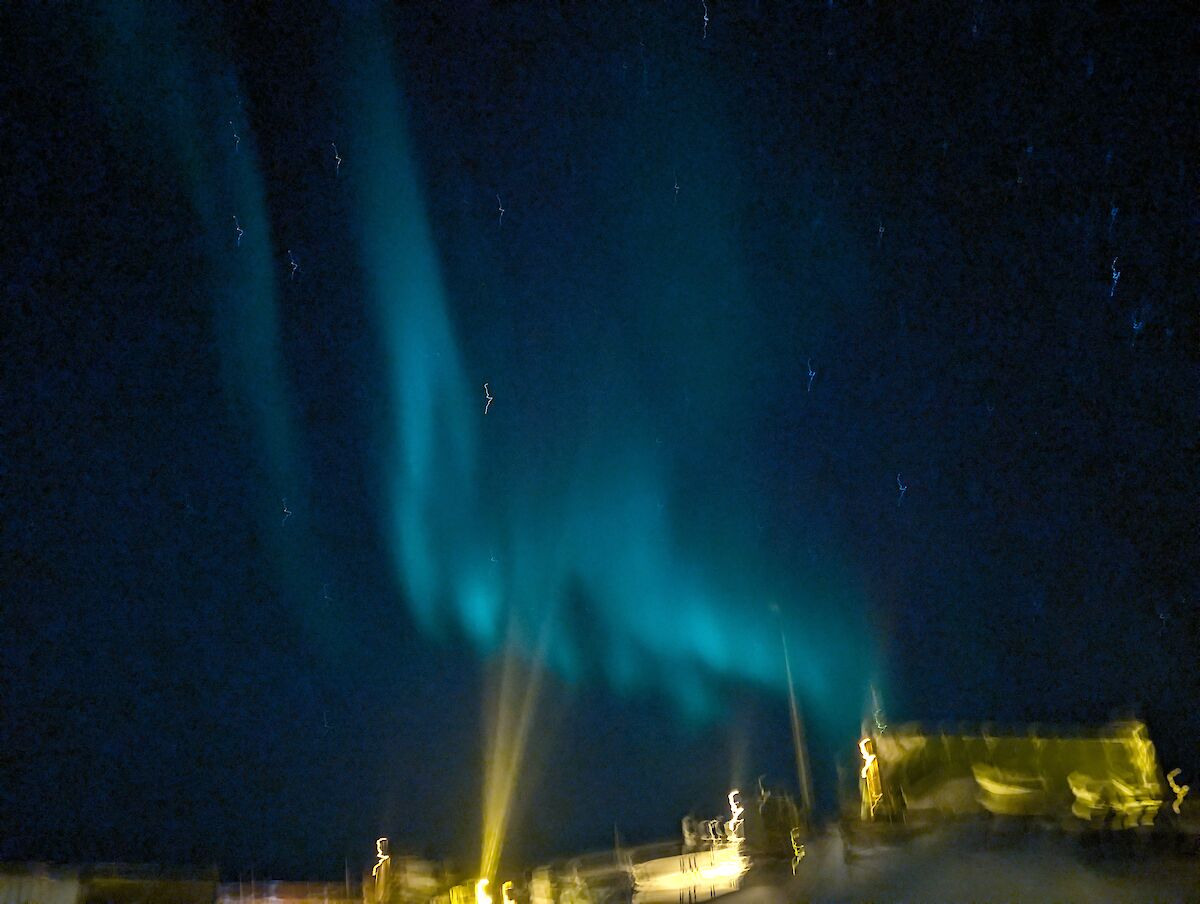
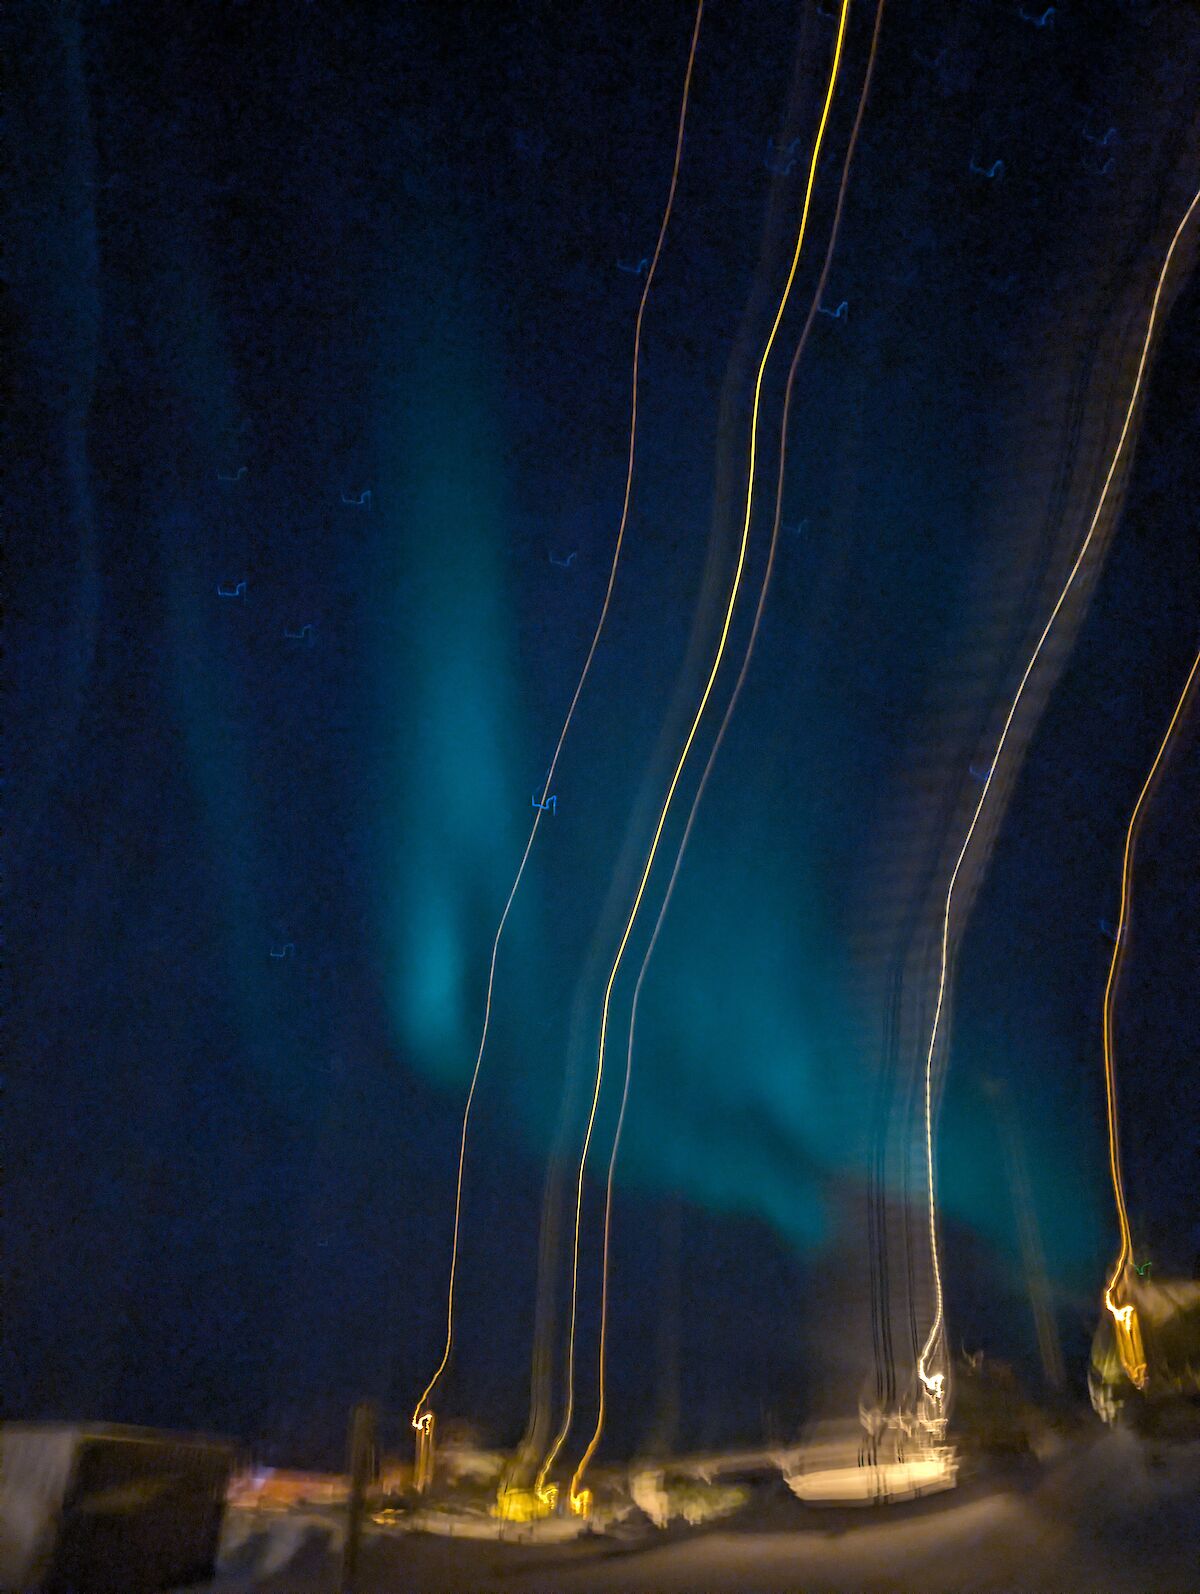
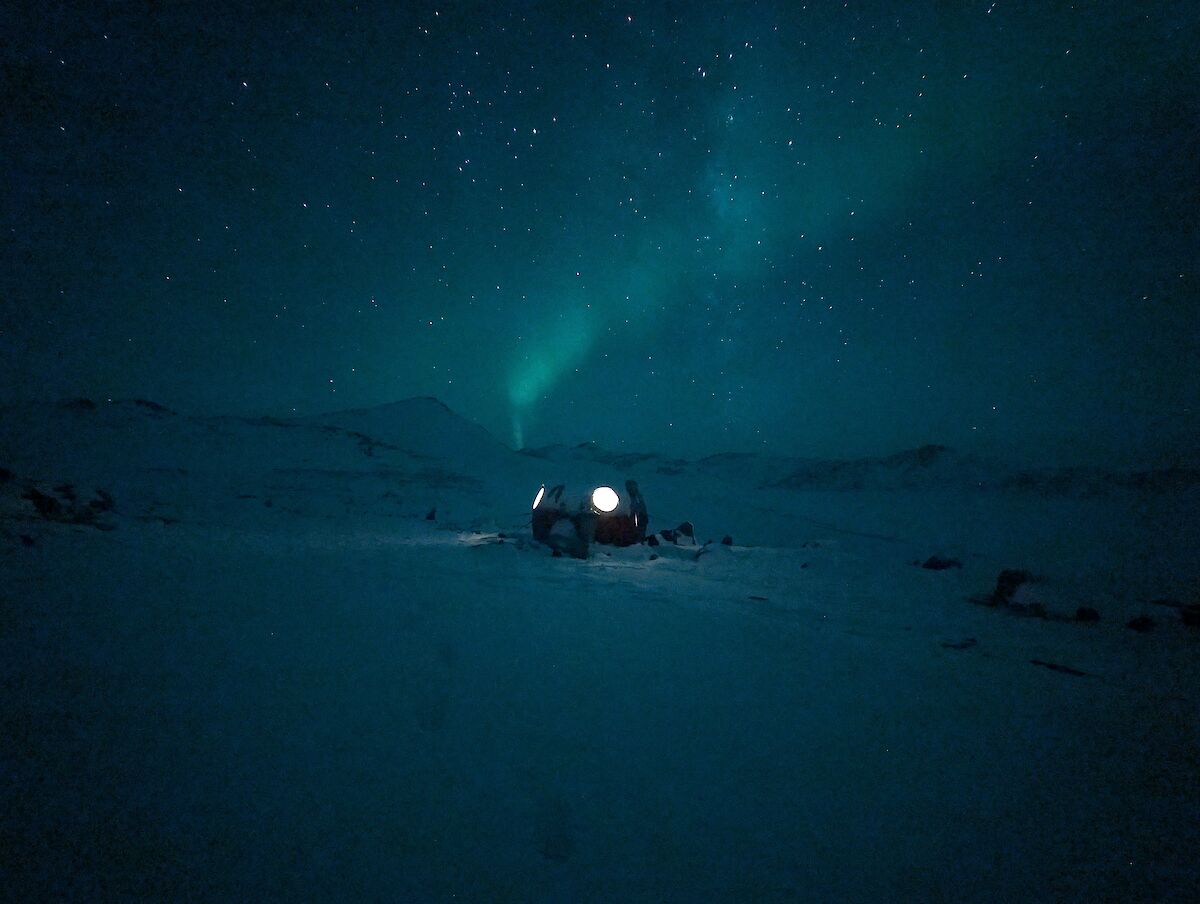
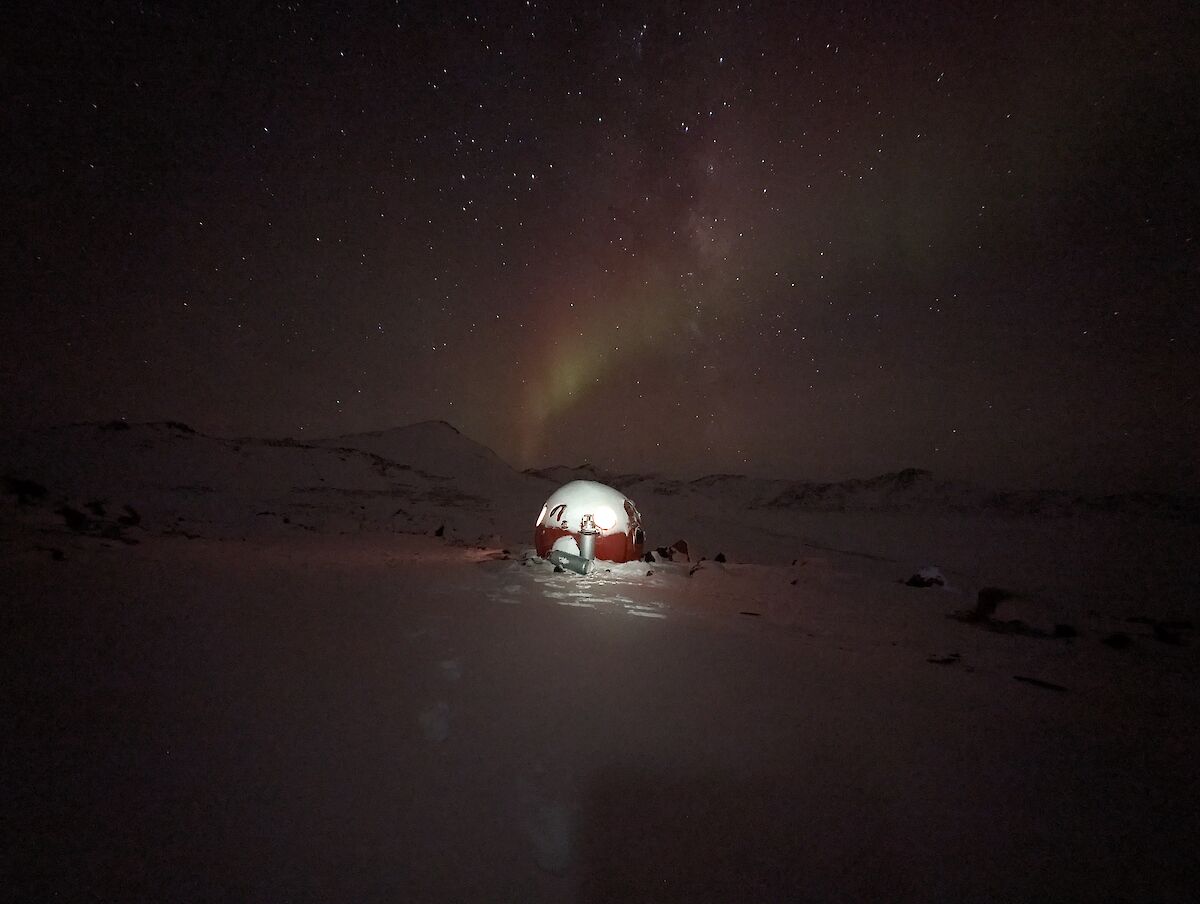
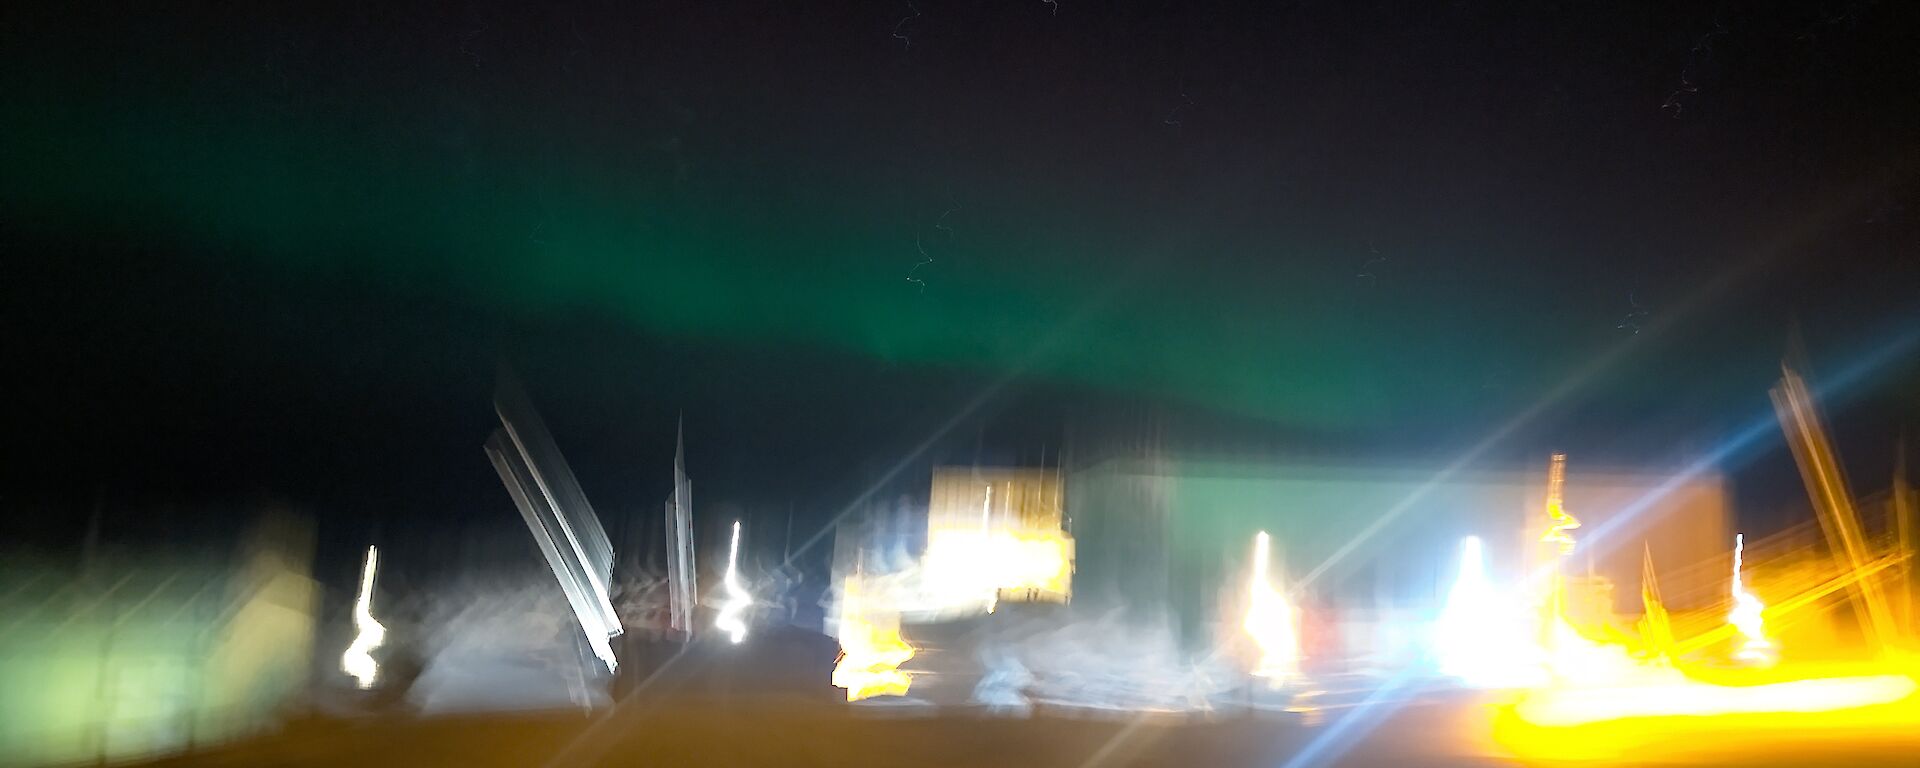
Now you are finally ready for your first authentic Antarctic aurora shot to send to friends and family, ideally at an inconvenient time, paying no observation to the receiver’s time zone. Below I have shared some exquisite pictures from my personal collection.
James Beton 79Th mechanic/ rising star in Aurora photography