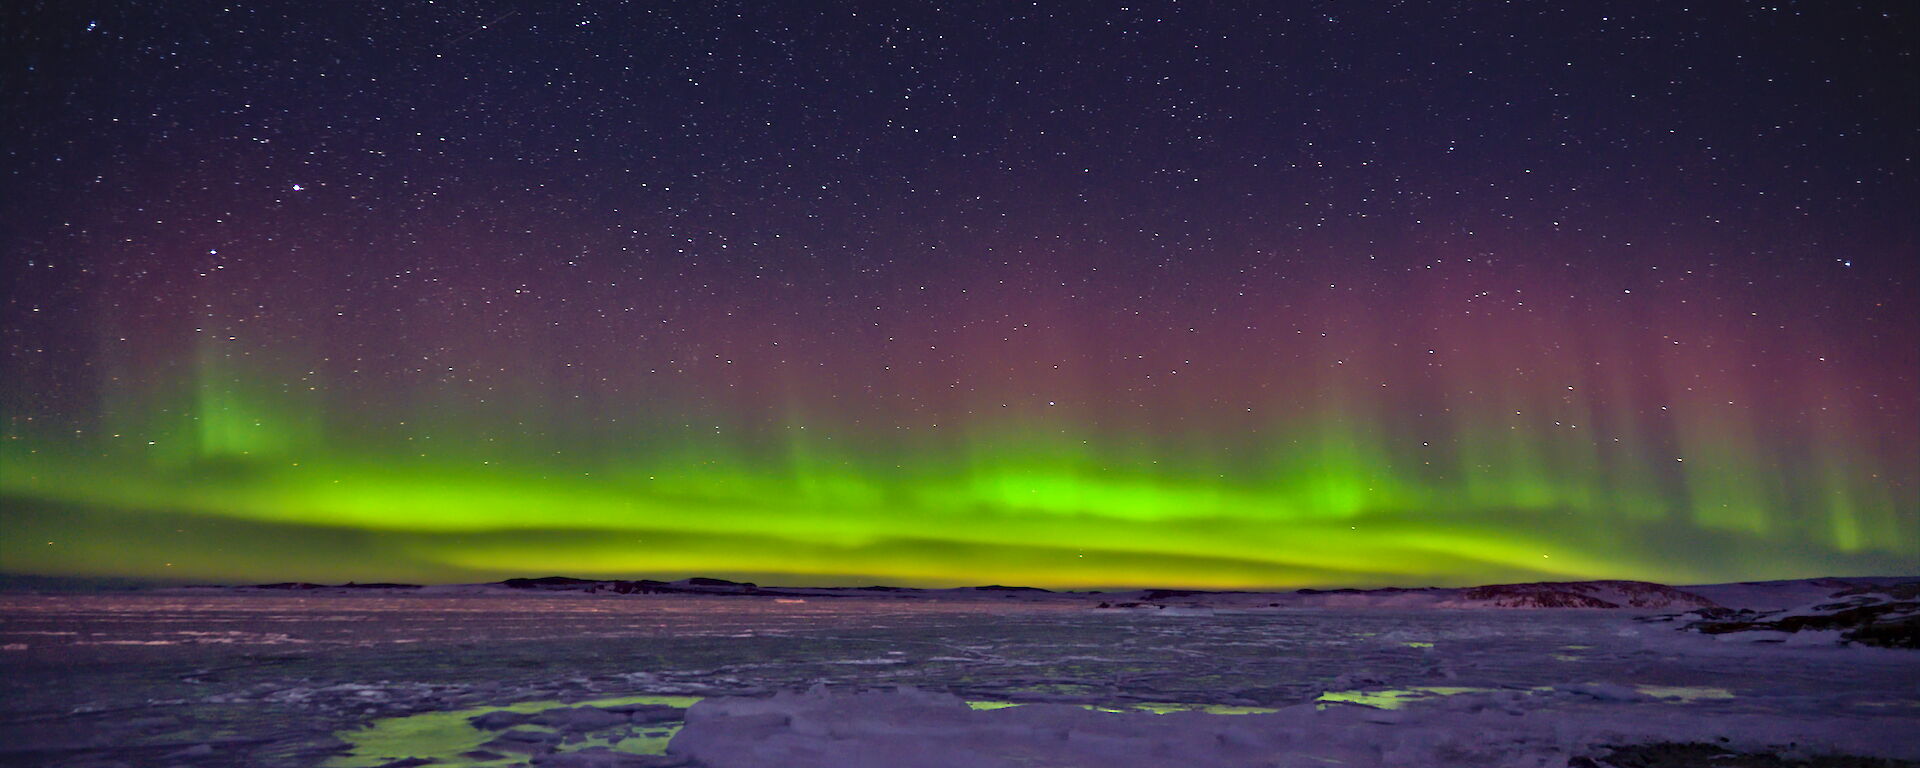
So you want to shoot an Aurora?
Your first step is to be somewhere there is going to be an Aurora… see Icy News last week for advice on that from our colleagues at BOM! (Hint: it's pretty helpful if you're in Antarctica!)
Now, there are a few things that you need to make shooting an Aurora a whole lot easier:
-
A wide-angle lens with a wide-ish aperture.
-
A remote for your camera, because pressing the button shakes the camera, or just set a timer.
-
A camera which allows you to set your ISO, shutter speed and aperture within a single shot.
-
A steady tripod.
-
Knowing roughly what your maximum exposure time and ISO should be for your aperture and lens length so the stars don’t streak and you get a reasonable exposure (look up Milky Way Calculator).
-
It also helps if your camera has, and you know how to use, High-Dynamic Range (HDR) imaging.
So, in the nice confines of somewhere bright and warm, set your lens to focus on infinity (that’s about where the stars are) with your aperture wide open. Set your camera’s ISO and shutter speed to the numbers you got earlier from the Milky Way calculator. Then wander out into the cold, dark night to set your tripod down somewhere that would have a nice view, if you could see it.
If you're like me, it'll take you about 10 shots to realise you left your lens on auto-focus so all your photos up to that point are blurry messes as it tries to focus in the dark.
After setting it to manual focus and refocusing to infinity, you shoot 50 more photos in the freezing cold until you get one good one by cheating and using HDR.
Ta-da! You're a maestro!
Natasha Behrendorff, Casey Doctor

