My first experiences of semi-serious photography were at Mawson Station in 2014 with a Panasonic bridge camera and no clue what I was doing. While I was there I figured out that I actually quite like it.
When I was preparing to come to Macquarie Island I bought myself my first DSLR and a couple of lenses that I thought might suit the environment. I like playing with photography; it’s a great use of personal time on station, and I like the technical aspects. Lately however I’ve been trying to push the envelope a little further by mixing all sorts of software, electronic, and photography techniques.
Deep Zoom Panorama
I’m not always a big fan of “big”. Small cars are fine, small TVs, small tents. No dramas.
But there is one “bigger is better” that I’ve been playing with lately: deep zoom panoramas.
Most people have used pyramid based deep zoom photographs in their day-to-day lives. It’s the technique that is used by Google Maps and any number of other web services to allow you to zoom deeper and deeper into a satellite image without crashing your network or computer by trying to load a single stupendously large, high resolution image. Instead, the images are broken into layers and segments, each layer showing more detail in a smaller area. So at the base of the pyramid you have many, many tiny images and the further you zoom out you have fewer, lower resolution images that cover the same area.
I’ve been experimenting with this technique by using telephoto lenses to create landscape or portrait shots. The idea is to lock the camera and lens at manual settings then create a grid of overlapping images that, together, encompass the overall composition that you are trying to produce. Ideally this would be done with a tripod and motorised or mechanical gimbal head, but my limited resources and issues with carrying equipment around the island means that most of my attempts have been made handheld.
After the set of photographs has been taken the real fiddling begins — trying to make a piece of software put them together with minimum distortion, in a digital negative that can be post-processed, and then broken into deep-zoom layers to be hosted on a web server. Honestly my hardware isn’t really up to it, and it crashes more often than not.
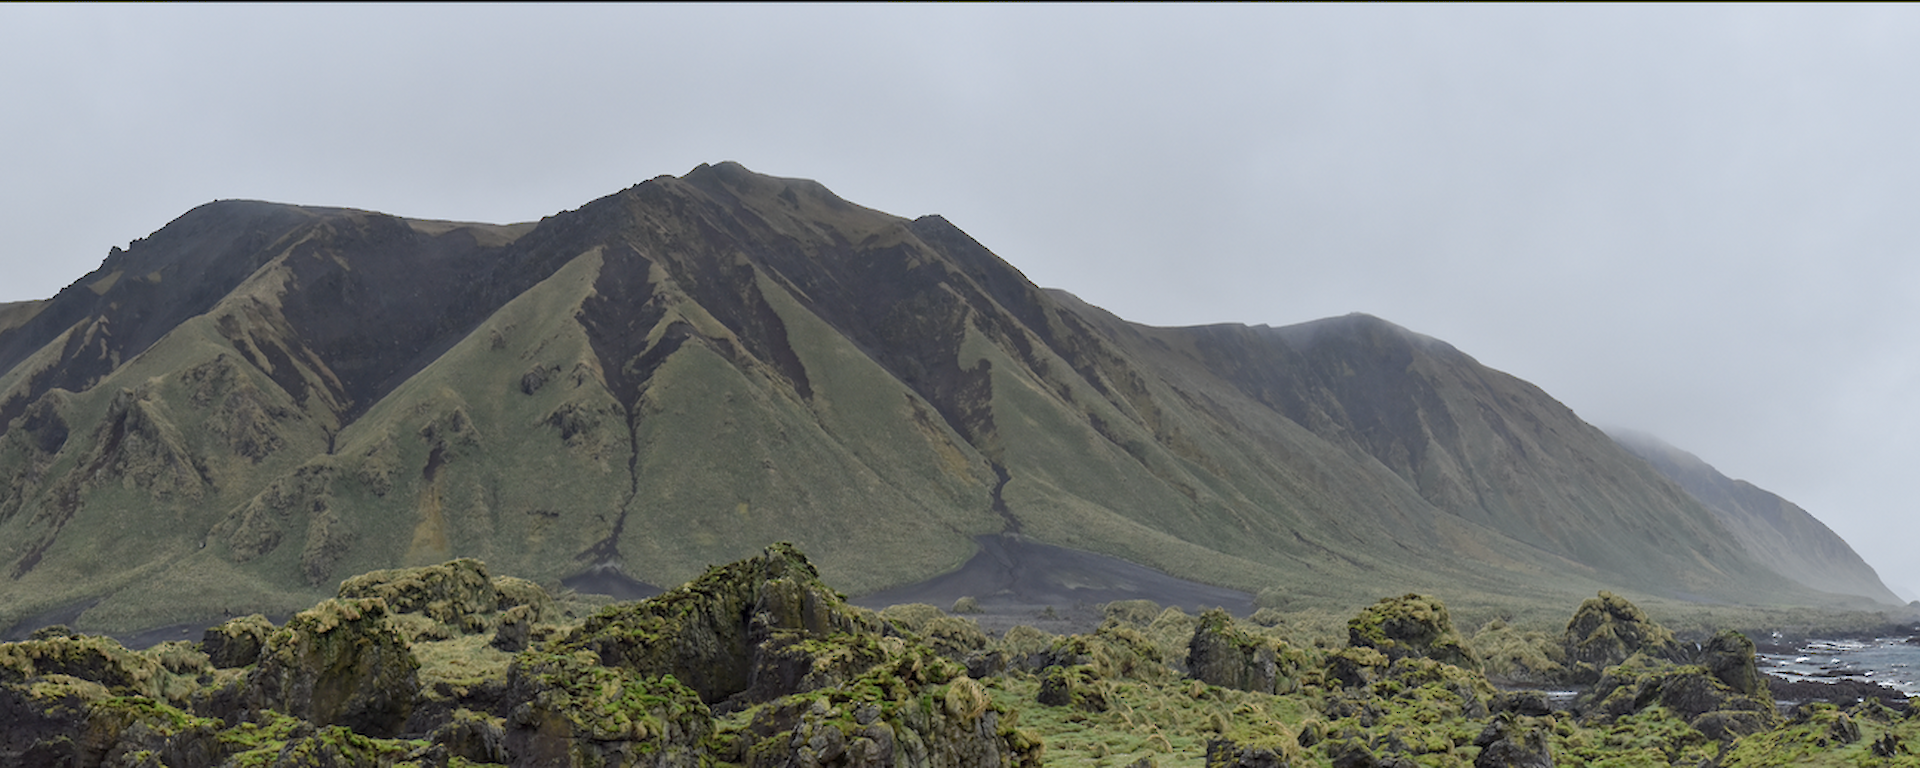
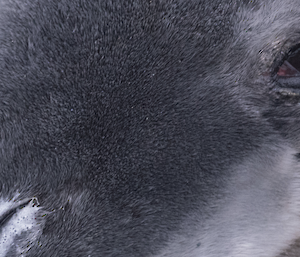
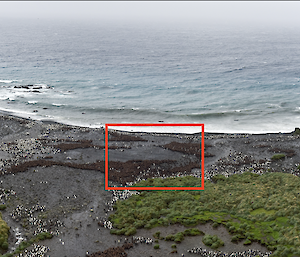
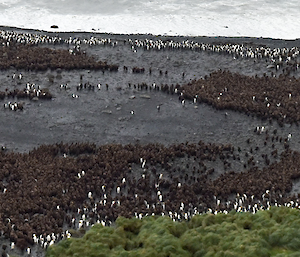
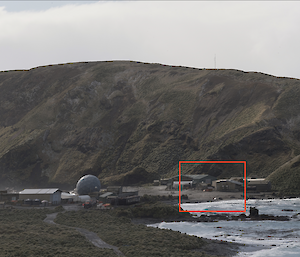
Sometimes it works though, and some of my more successful experiments are included below, compressed to show the overall composition of the shot and then the detail of the same image when viewed uncompressed at 1:1. For reference, my camera has a 24 megapixel (MP) sensor; each shot it takes is 6016 dots wide and 4016 dots tall which gives a total of 24,160,256 dots per frame. The smallest stitched example I’ve included is the Lusitania Bay penguins at 77.36MP and the largest is the leopard seal at a whopping 188.93MP.
Holy Grail Timelapse
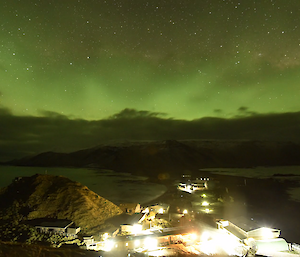
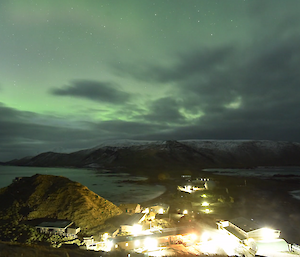
Timelapses are a popular artistic technique for creating landscape videos. Weather is a dynamic feature of the environment, but it generally changes too slowly to keep human interest when played back in a video. Timelapses are also a particularly effective method for showing auroras, as the aurora often requires long exposure photography to capture, which precludes playing back in real-time.
The ‘Holy Grail’ timelapse idea is to effectively captures extreme changes in light levels, without flickering or over/under exposing. In essence it’s trying to photograph the transition from day to night, or night to day.
The challenges that capturing a ‘Holy Grail’ timelapse on Macquarie Island present include:
• weather conditions — salt spray all the time, rain, snow, gale force winds,
• batteries draining when shooting for 12+ hours,
• managing camera exposure levels,
• portability!
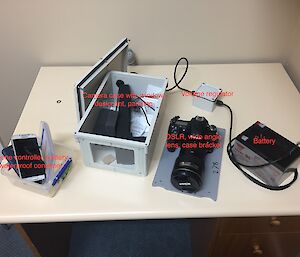
To create my timelapses I’ve modified a weatherproof electronics container with a mount for my camera, a glass window, and a power cable port. The power is supplied from a 12V lead-acid battery which is regulated in a second smaller waterproof box. The timelapse management is performed by an app on a smart phone, which is connected to the camera via wifi and powered through a commercial USB battery.
Unfortunately there’s very little I can do for the portability of the system — between the battery, the camera, and the box it weighs a substantial amount and is fairly awkward to move around Macca!
So far I have used this system to shoot several thousand photos over a few nights on station, with reasonable success. Next steps will be improving the fastening system on the enclosure, carrying a second battery to put in parallel, and finding a way to store more photos on the camera.
Here’s an example timelapse - enjoy!
Angus Cummings

